Posted by
Lotema
Shoiken Grove, Palanthas
Joined Apr 27, '16
The family is out of town for a little bit so I had some extra time on my hands and figured I’d put it to good use by trying to do some more complex things with the Glowforge. Ok, they’re not necessarily complex but I’m still a complete noob with all of this so they’re complex for me!
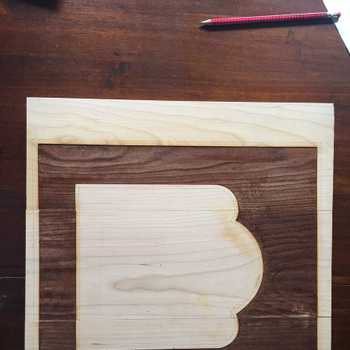
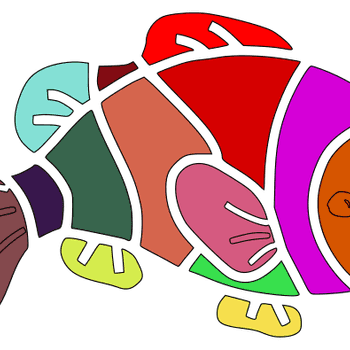
I decided to try doing an inlay in wood since I have some projects in mind that I will eventually make that will need me to be able to do this. My wife absolutely loves wolves so I figured that a silhouetted wolf would be a pretty good test design. I got things setup to what I thought would work (ha, yeah right!) and did my first print. It was very loose in the fit and you could pretty easily see gaps in the inlay. That’s not going to work. I went back to inscape and adjusted a few things here and there and tried again. Better but still not good enough. If I’m going to give it to my wife, then I want it to be REALLY good.
I figured I’d just wind up wasting material if I kept going without really knowing what I was doing so I did some search in the forum and found a fantastic PDF by @Jules that explained how to properly adjust for kerf using Inkscape. I followed the instructions but had another bad print as the inset was too large and just wouldn’t fit. Hmmmm. I thought about it a bit and decided that the kerf number I had put in was too big and that I needed to cut it in half again, so I did and hit print again. This time, success!! Not just success but a perfect fit success! After about 5 or 6 failures, I was just giddy that 1, it turned out the way I wanted and 2, I actually understand how to consistently reproduce the steps for any other design on any material (or so I think!).
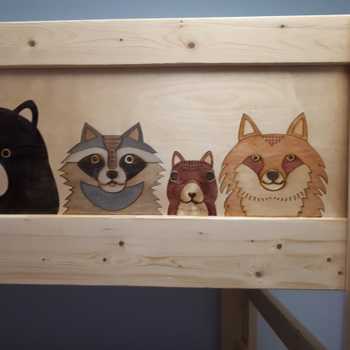
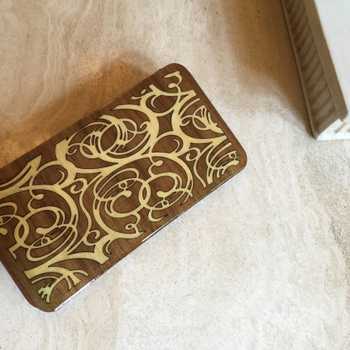
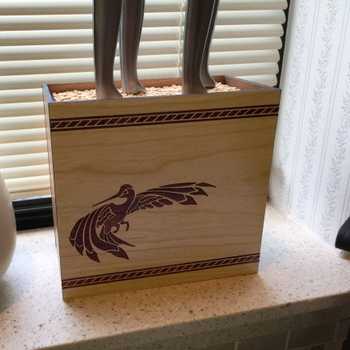
I used some satin spray finish on the first piece and while waiting for it to dry, decided that I wanted to do 2 more and finish them in Danish oil. So I made two more, both with walnut but one with yellowheart and the other padauk for the inlay. I gambled on kerf being right for the padauk, which it wasn’t really. It was really tight and I broke the weak super-small piece on the bottom left. I eventually got it in there but I really should have gone back and properly done the kerf for that stuff. I’m not always the most patient person 
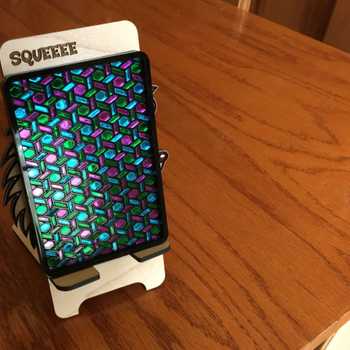
So here is the final product, well, the two pieces finished with the Danish oil. The satin spray on poly is currently drying from it’s 3rd coat on the front side. I added some holes on the top so she can hang them in our “garden window” where she has a bunch of her indoor plants.

Start with an idea. Create your design. Hold something in your hand you only imagined an hour ago. Glowforge makes that possible.

From idea to design to creation. No matter what you want to make your Glowforge can help you make it happen.