
Posted by
evansd2
Joined Sep 18, '17
I AM DECK BOX.

OK quick and dirty post.
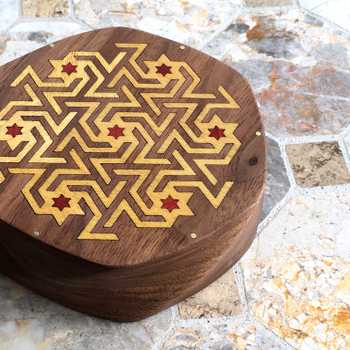
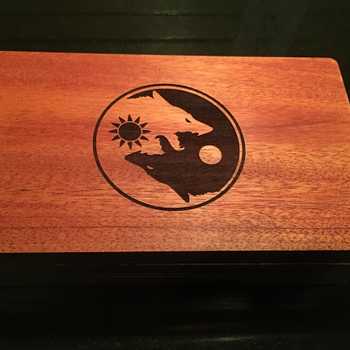
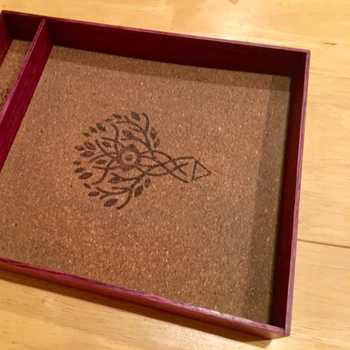
I made a MTG deck box out of bubinga. I stole some design cues about fingerjoints from @geek2nurse, but other than that it’s a fairly standard box, except for the closure system.
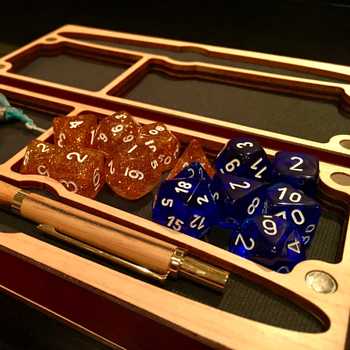
I elected to go with a snap-on leather retention belt.
Things to look out for which I may or may not have screwed up:
Other notes:
Anyway, cheers. At its core, it’s just an engraved box, so without further ado:
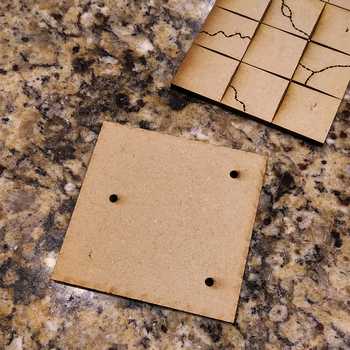
A quick note about the rivets. I engraved slight recesses on the outside panels of the boxes to accept the “male” fittings, so that they would be flush to the box surface. The effect is that they look more integrated if they are just flat on top of the surface. On the inside, I had to take a drill and grind away some material around the lip of the hole, to allow for the little conical aspect of the post fitting. If this doesn’t make sense to you, it will once you try it. I could have flipped and done a second 3d engrave to remove some material, but a drill with a really big bit got the job done in about 10 seconds. The right tool for the job is key, and shockingly that is sometimes not a laser.


A gift for a relative, it’ll be off to its new forever home soon enough.

Start with an idea. Create your design. Hold something in your hand you only imagined an hour ago. Glowforge makes that possible.

From idea to design to creation. No matter what you want to make your Glowforge can help you make it happen.