Let's get started!
We can’t wait for you to get started with your first print. In just a few minutes, you’re going to have a working laser in your home (or office, classroom, workshop, or design studio)!
Getting Started Guide

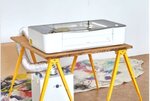
1. Prepare a landing zone
Making sure your Glowforge has its long-term home all ready to go makes things super easy!

2. Open the big box
Your Glowforge comes in a box specially designed to keep it safe and sound. This is the best way to open it.

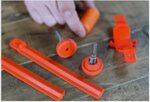
3. Unpack the print bed
Your Glowforge’s internals are carefully protected so they don’t move in transit. Here’s how to get them moving!

4. Install the Crumb Tray
Proper installation of the Crumb Tray is easy, but crucial for successful printing.

5. Install the Print Head
The Print Head is one of the most magical parts of your Glowforge. Here’s how to install it properly.

6. Set Up Exhaust and Power
Your Glowforge’s laser creates smoke as it slices through materials. This step makes sure it ends up in the right place.

7. Create Glowforge Account
This last step creates your Glowforge Account and connection to the internet. You'll be making amazing things in no time!

