1
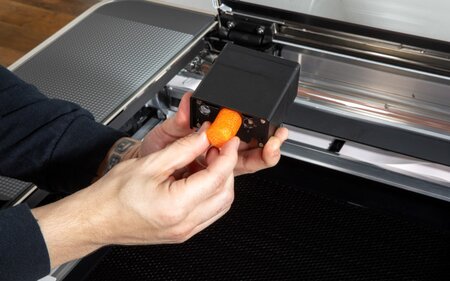
Carefully pick up the Print Head, touching only the flat, black metal parts. Do not touch the yellow window on the side of the head.
2
Remove the orange foam cylinder.
2
Holding the Print Head by its sides, connect the ribbon cable with its tab facing up. Slide the connector on until it clicks.
3
Connect the Print Head to the laser arm. With the Glowforge logo facing up, rest the Print Head on the laser arm’s metal plate until you feel the magnets click the head into place.
4
Gently slide the Print Head all the way left, then all the way right. The head should glide smoothly. If not, check that the ribbon cable doesn’t have any twists.
5
Move the Print Head so that the Glowforge logo is directly underneath the lid camera when closed.
6
Close the lid and make sure the Print Head is underneath the lid camera.
Save everything! If you ever need to ship your Glowforge for service, you’ll need all the original parts: boxes, handle locks, foam, and important orange and red bits. Store them safely; replacement packing materials are $249.


