Set Up Exhaust and Power
1
Slide a ring clamp over the end of the provided hose.
2
Squeeze the two ends of the clamp and slide over the exhaust port on the back of your Glowforge.
If using an air filter...
3
Slide a ring clamp over the other end of the provided hose. Squeeze the two ends of the clamp and slide over the intake port on the top of your Glowforge Air Filter.
If venting through a window...
4
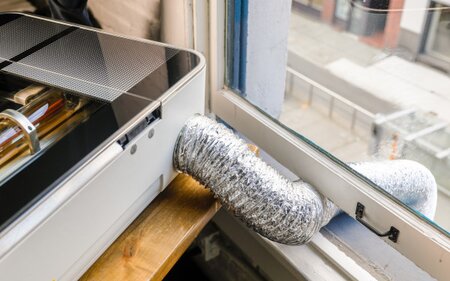
Run the end of the provided hose through an open window.
3
The hose should be kept as straight as possible, with no more than two turns of 90 degrees or less.

The end of the hose should be no more than 8 ft (2.5 m) away from your Glowforge and at least 3 ft (1 m) away from the window, property lines, and openings into a building. It should also be at least 10 ft (3 m) from mechanical air intakes.
Bring the end of the hose inside when not in use. Changing weather conditions may cause hot, cold, or humid air to enter your Glowforge that could damage it.
4
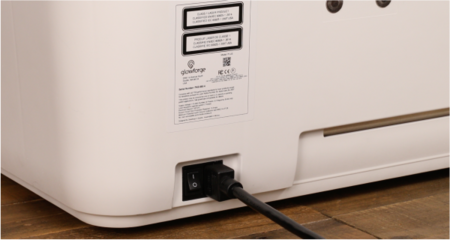
Attach the power cable to the back left corner of your Glowforge and turn on the power. Attach the power cable to the back left corner of your Glowforge and turn on the power.


