Glowforge Owners Host The Best Parties
(and save hundreds $$$)
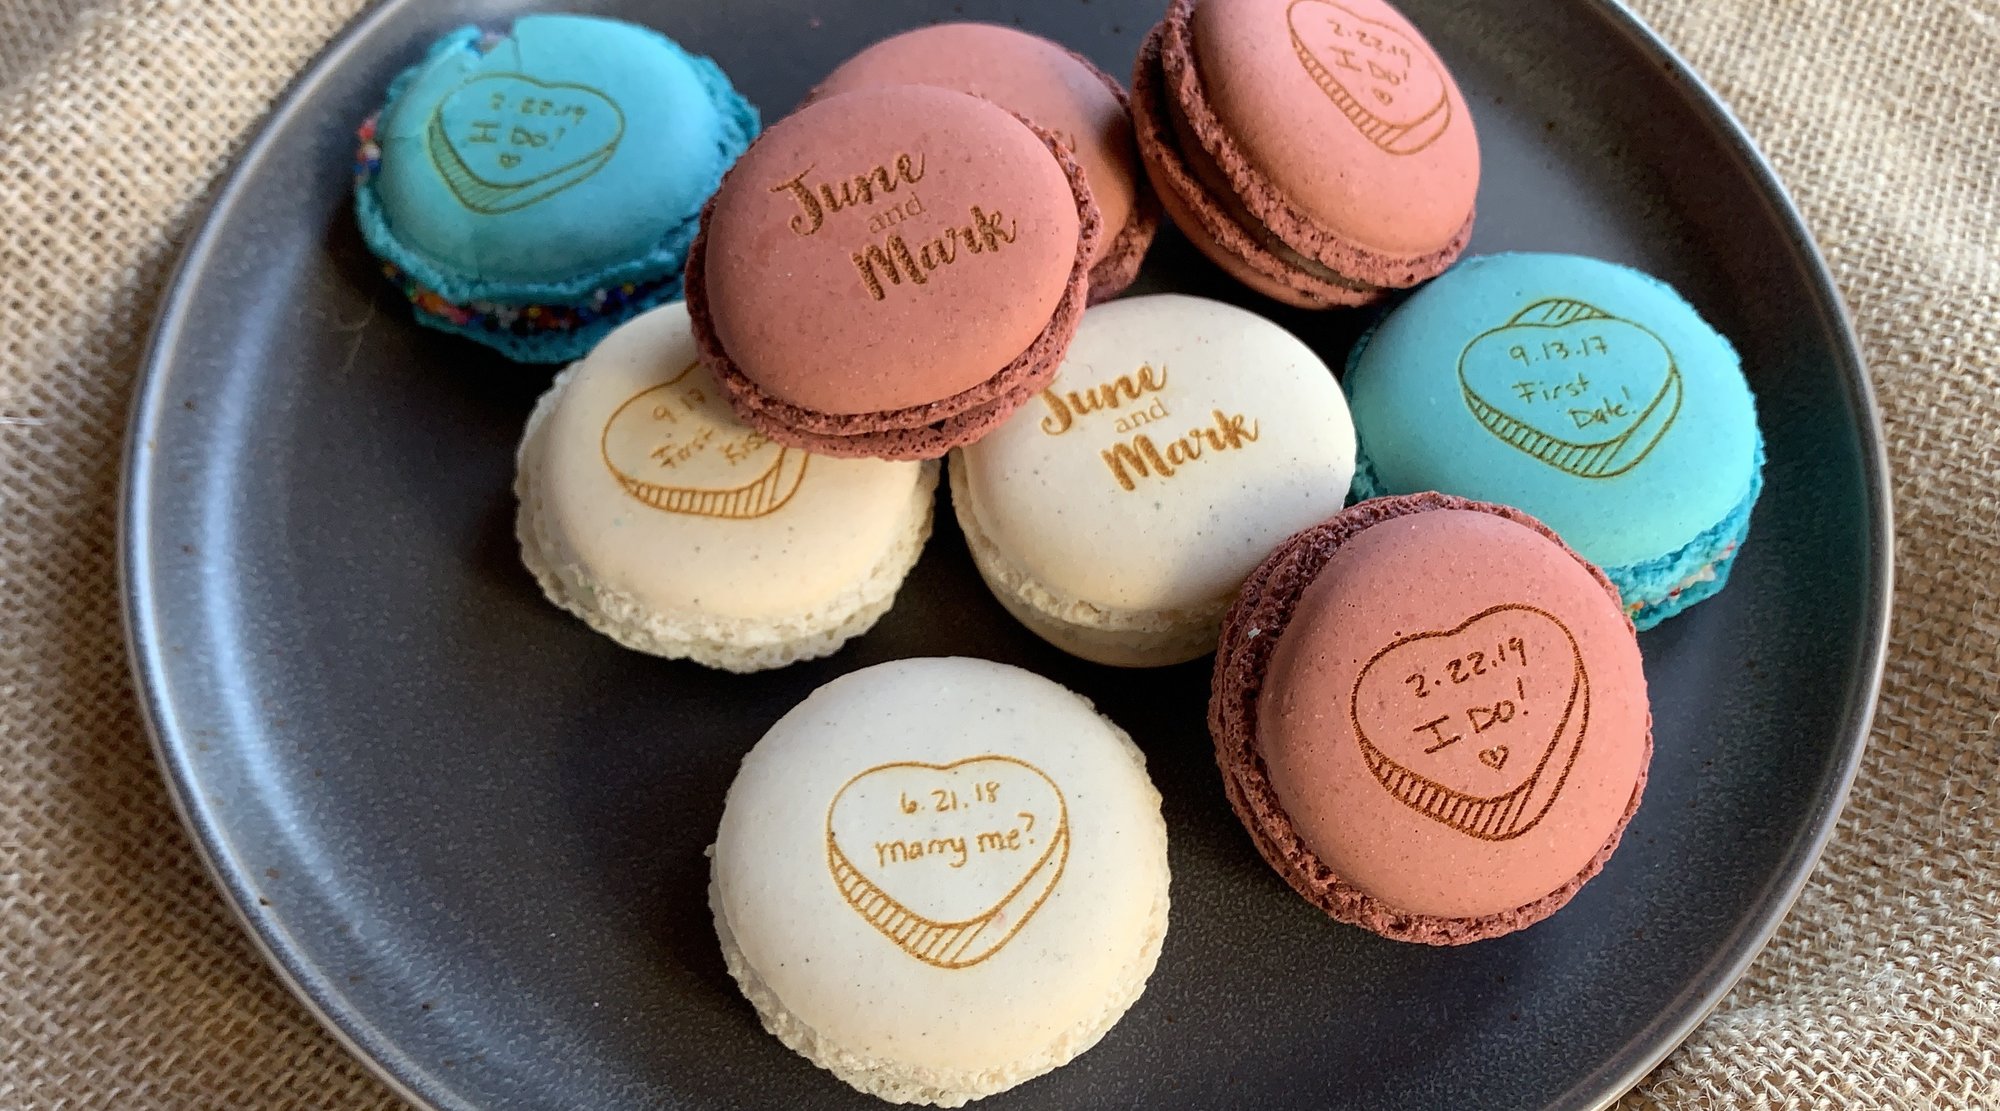
<Why? What does GF do for owners?> Introduce the idea that Glowforge can be used to create decor, stationary, place settings and unique food embellishments for any event. Kids birthdays, family anniversaries and holiday parties will never be the same. Your reputation will proceed you, to the point where you could quit your 9-5 if you wanted too.
5 DIY projects that will blow your guests away
1.
Create your Design
No. Episodes:
5
Expertise Level:
Beginner
Discussion Topics:
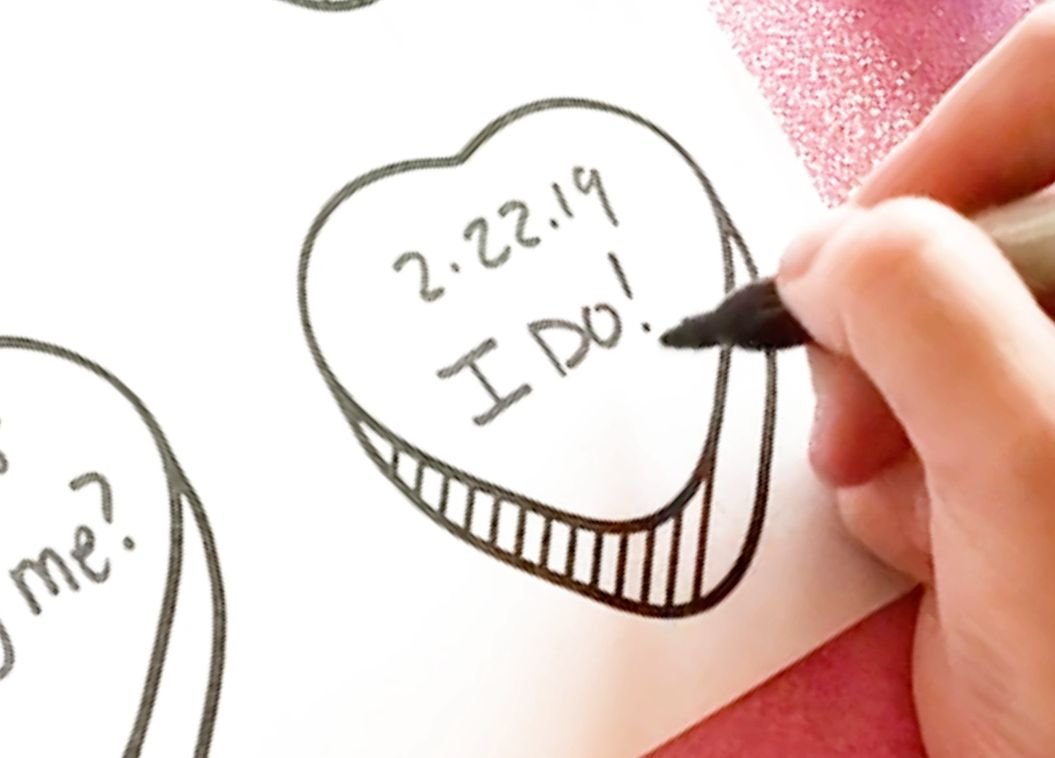
No design software required! Using a black pen and copy paper, write or draw your design. Make it as big or as small as you like - you can resize it in the Glowforge App. Here's a tip: High contrast designs produce best results so we recommend using a black marker on white copy paper
2.
Use the Trace Feature
No. Episodes:
5
Expertise Level:
Beginner
Discussion Topics:
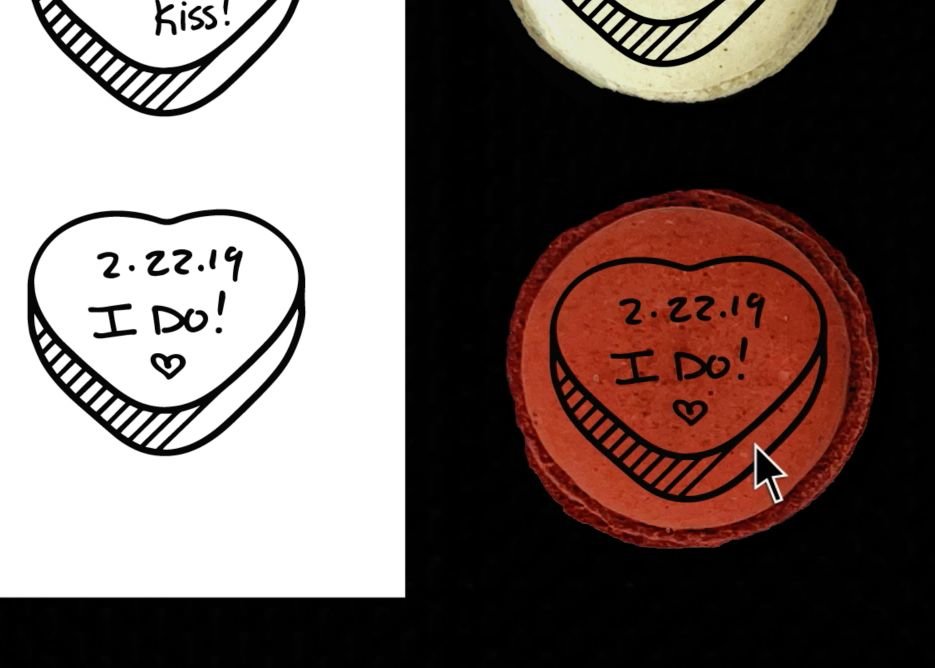
Open your Glowforge and place your design in the center of the bed. It doesn't have to be super precise, but for best results, aim for the center so the camera gets the best view. Then, in the Glowforge App, use the trace feature to make a digital copy of your design. We go into more detail about the trace feature in our feature tutorials
3.
Remove The Crumb Tray
No. Episodes:
5
Expertise Level:
Beginner
Discussion Topics:
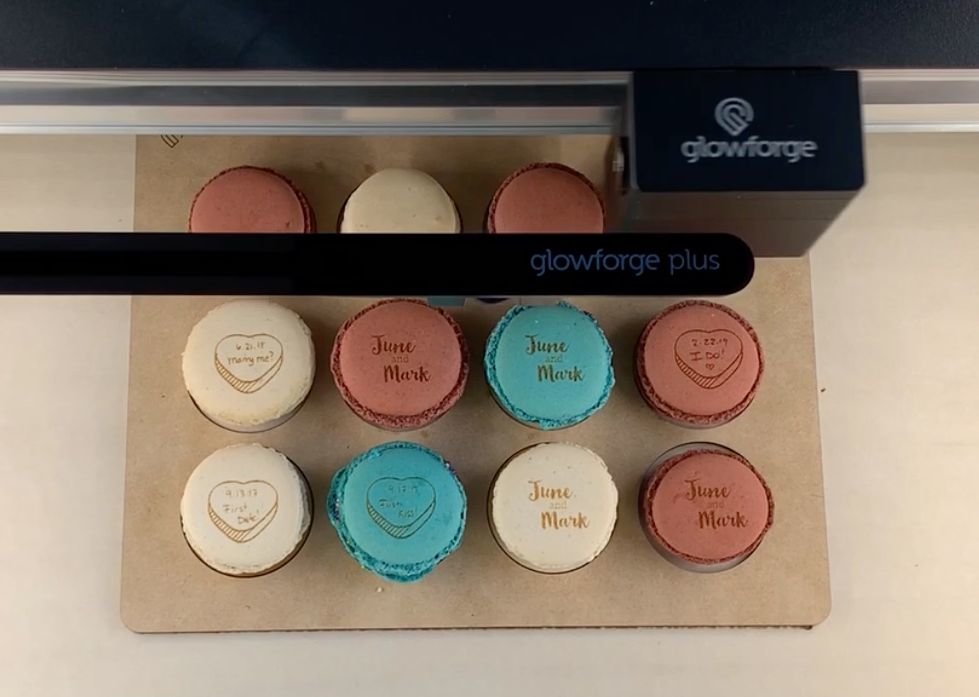
If your macarons are more than 0.5" tall (let's face it; all good macarons are!) you'll need to take out the crumb tray to create more room under the laser head. With the tray installed, the maximum engrave height is 0.5". Remove it, and you can fit things up to 2" tall inside your Glowforge.
4.
As Simple As Drag and Drop
No. Episodes:
5
Expertise Level:
Beginner
Discussion Topics:
You can engrave your macarons one at a time, or in batches. Simply drag and drop your designs into place. Need more than one of each design? Just copy and paste! And here's another tip: For ultimate accuracy, use the Set Focus tool.
5.
Choose Your Settings!
No. Episodes:
5
Expertise Level:
Beginner
Discussion Topics:
There's one last step before we hit that print button: choosing settings. For materials like macarons that aren't included in the materials library, the community is a great place to research which settings to start with.
6.
Print!
No. Episodes:
5
Expertise Level:
Beginner
Discussion Topics:
Click "Print" in the Glowforge App, press the glowing Glowforge button, and prepare to spend the next few minutes staring at your macarons as the invisible laser beam engraves your design.
More Delicious Prints:
@theicingonthecake.llc
@starlingdesignsbysj
@crispy___lab
@northhavengoods
@stemeducationworks
@creatingbrandbailey
@creatingbrandbailey
@mere.moments
@pnw.made
@sheekawgo
5.
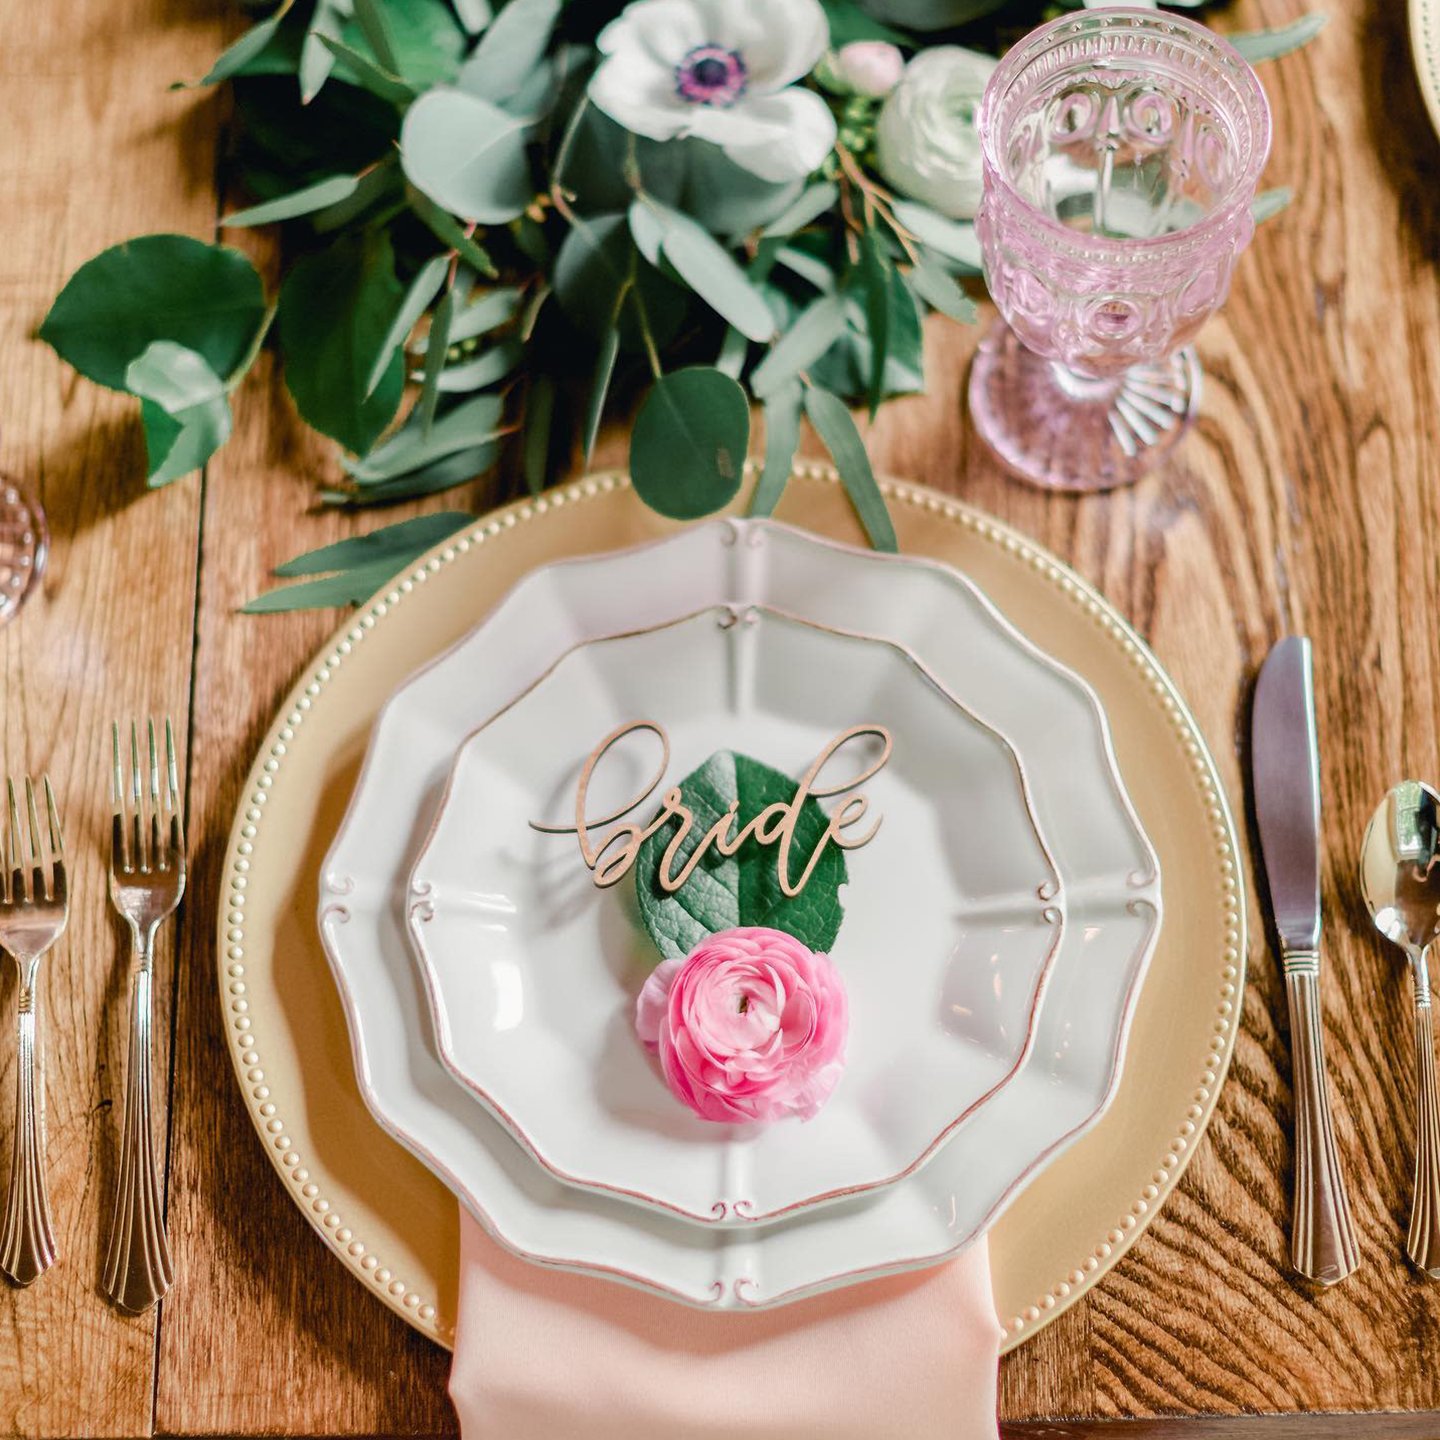
Enviable table settings
No. Episodes:
5
Expertise Level:
Beginner
Discussion Topics:
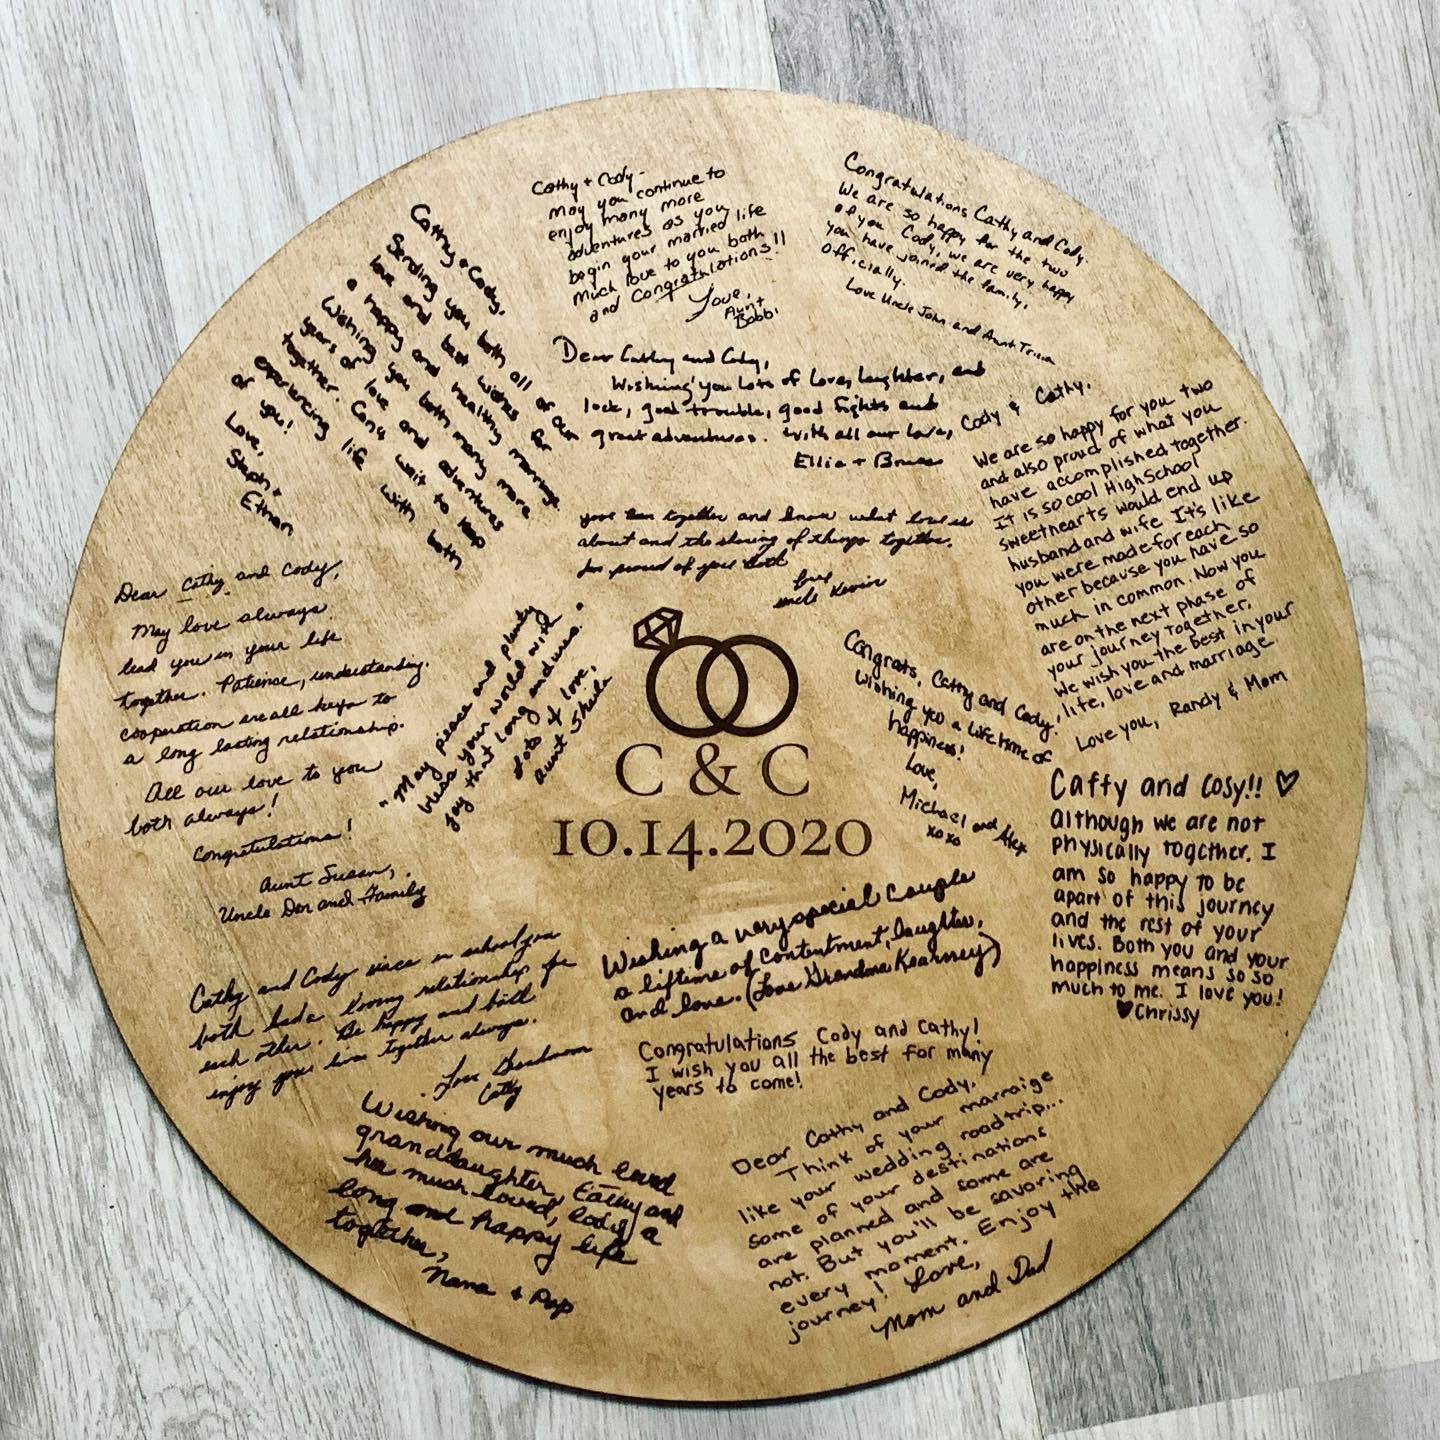
Passthrough makes it easy to create giant statement pieces for your event. Forget paying hundreds of dollars and waiting weeks for a custom marquee. Print at home in an afternoon
Tags:
Pro Passthrough, GIANT prints, weddings, Proofgrade