Turn your idea into reality in no time
Start with an idea. Create your design. Hold something in your hand you only imagined an hour ago. Glowforge makes that possible.

james_scheffler
Medford, MAJoined Fri Nov 13 2015Even before the  arrived, as the e-mails started to let folks know when they’d get their mighty machine, I knew that I needed a new, not-terrible belt pouch for my much-loved multi-tool.

I’ve had the thing for seventeen years, and the nylon pouch with which it came has been replaced twice - it seemed to me time for something a bit tougher in leather. I had done some leatherworking as a teenager, and @dan’s wallet story reminded me that the worst part - cutting holes with a thonging chisel - was now easily automated.
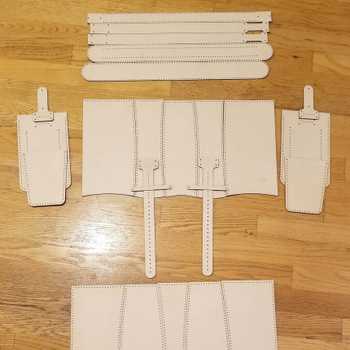
I took some measurements, opened up OpenSCAD, and designed the shapes that I need. I mostly held the design in my head; the OpenSCAD models don’t tell you anything about how they go together. I just needed a way to precisely place and align things in an SVG - I’m no expert whatsoever at Inkscape (or for that matter, OpenSCAD)
I’d hoarded some leather scraps for a few years, so those came out, and rather than doing the responsible thing, I just told the machine it was “standard natural leather.”
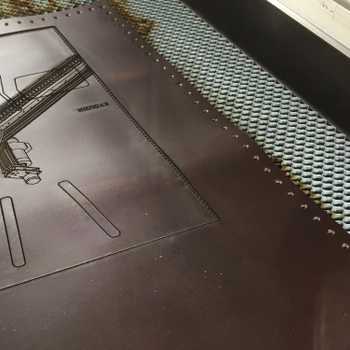
The first attempt failed, but was really close to good. The problems I had were:
So back to OpenSCAD to make some revisions:
vi for setting the units to mm, as well as for simply removing the ‘stroke’ elements from the paths.Same power settings, which for this leather, simply weren’t quite high enough. I had to go over it with a razor to free the part. My fault, but lesson learned.

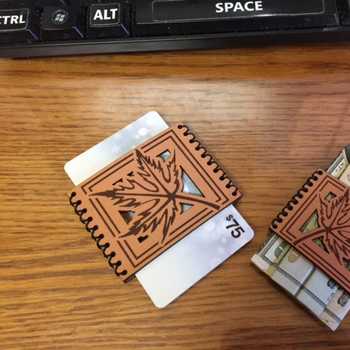
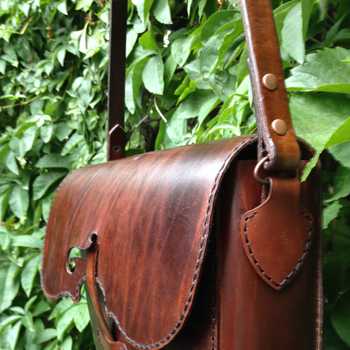
The holes were still a bit too small for this awl, but I decided that I could live with it. I had to figure out how to close the thing, though, and settled on a neodymium magnet which sticks to the multi-tool. I haven’t decided yet whether I think the fact that the pouch will not close without a tool in it is a bug or a feature  The magnet’s just very carefully glued in place; CA and hot glue. We’ll see if that lasts very long.

The belt loop part is two pieces, so that the pouch can be worn vertically or horizontally. This was a feature of the original pouch that I really appreciate.

And here it is, in place, doing its job, horizontally, just after I finished the magnetic closure:

Sources are here:
Explore leather projects


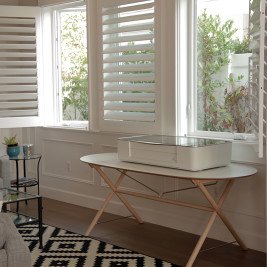
Meet Glowforge
Learn more about the iconic 3D Laser Printer
Start with an idea. Create your design. Hold something in your hand you only imagined an hour ago. Glowforge makes that possible.
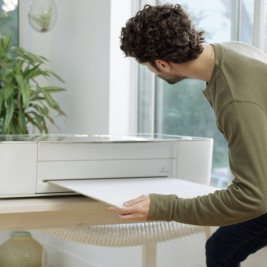
From idea to design to creation. No matter what you want to make your Glowforge can help you make it happen.