Turn your idea into reality in no time
Start with an idea. Create your design. Hold something in your hand you only imagined an hour ago. Glowforge makes that possible.

marmak3261
Kirksville, MissouriJoined Wed Oct 14 2015Continuing the discussion from No Foolin':
and also this excellent topic:
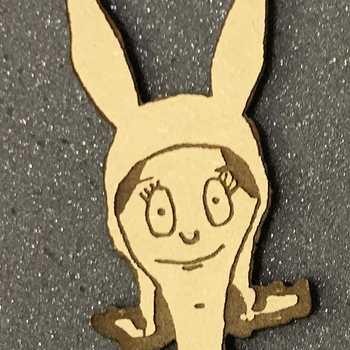
We have had many discussions about the accuracy of this function. Here is an example of the different steps. I also show the use of masking on a paper product, .012' cardstock (thanks again @cynd11!). I also show why I do not use this function much as you can see from the hand drawn cat/pig that is the subject.

Cat/pig drawn directly on Laserbits masking with a fine point Sharpie. The masking is applied on both sides of the paper.

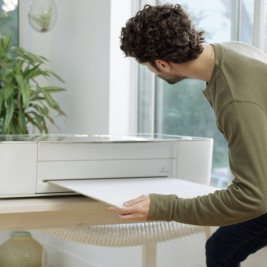
As scanned in bed before trace and without material thickness adjusted (do that later).

Resulting Scan.

Resulting trace. I’m doing a cutout.

Overlay before adjusting for thickness by putting in the thickness in (.0185' including masking.)

After adjusting for thickness of the material.

In the bed right after the cut.

Remainders

With masking removed. With care you can remove it without damaging the cardstock. Smoothing the masking out without pressing too tightly to the cardstock will help prevent tear away.

Backside. A little flashback at corners. I had a bit more power than necessary to cut through this thin cardstock. I hadn’t cut this before and didn’t bother to do a test.
I hope this helps keep the conversation going.
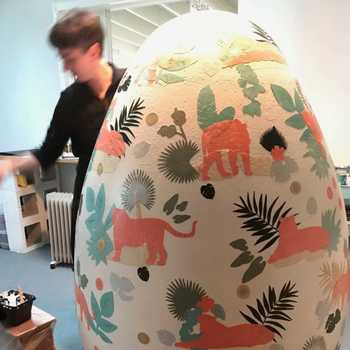
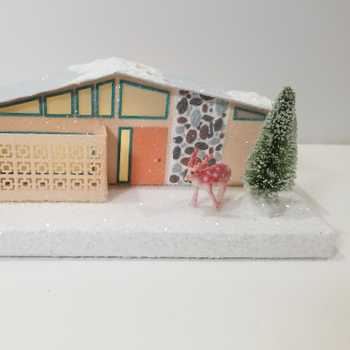
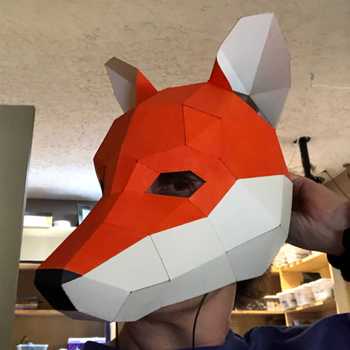
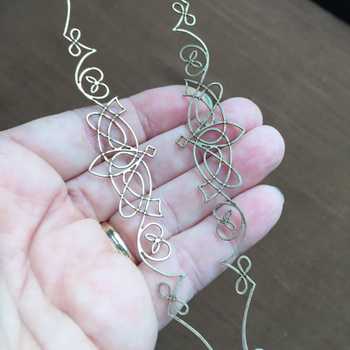
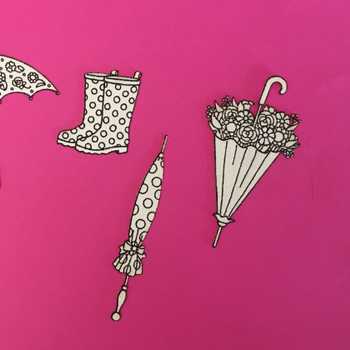
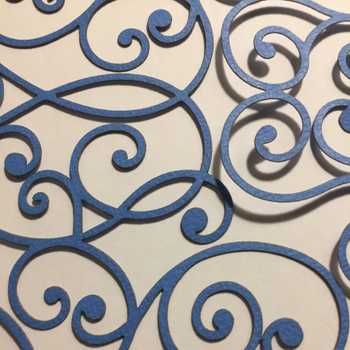
Explore papercutting projects

Meet Glowforge
Learn more about the iconic 3D Laser Printer
Start with an idea. Create your design. Hold something in your hand you only imagined an hour ago. Glowforge makes that possible.
From idea to design to creation. No matter what you want to make your Glowforge can help you make it happen.