Turn your idea into reality in no time
Start with an idea. Create your design. Hold something in your hand you only imagined an hour ago. Glowforge makes that possible.

Tim_Ung
Buffalo, NYJoined Fri Mar 17 2017Hi everyone!
It’s been a little while since I shared a leather project made on my Glowforge and I’m excited to share my latest design and product; a leather tote bag. I’ll go through my process from selecting the leather to cutting, stitching, and finishing the product in hopes that it’ll inspire some of you who are looking to experiment with leather on your Glowforge.
1. Choosing the leather
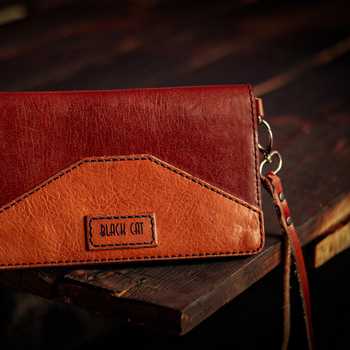
If you’ve read my very first post here in the Glowforge community, you’ve probably seen some of the different leathers that I used to make 100 leather wallets using the Glowforge and lots of physical labor. Out of the 5 different colors, the red leather was one of my favorite because of its sleek appearance and smooth feel. It’s also a high quality top grain leather (this means some of the skin of the leather was buffed and snuffed to create an even surface before it was waxed) which makes it one of the higher quality leathers for making products. This particular red leather would be the perfect candidate for my first leather tote bag prototype.

2. Cutting the leather on the Glowforge
With the leather selected for this project, I cut it down to the necessary size for cutting all of the different parts that would come together to make the leather bag. In total, it took about 4 pieces of leather, each of which were about the full size of the laser bed. Check out the different pieces that will come together to form the bag in the photograph below.

3. Stitching all of the pieces together
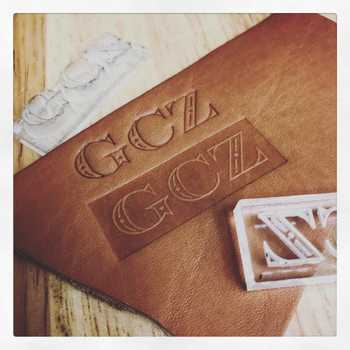
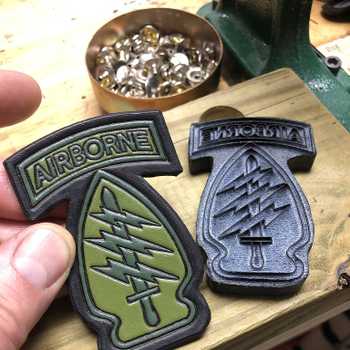
As you get deeper into the leatherworking process and start introducing additional components such as pockets, tags, your brand, and so on, you quickly learn that some parts should be stitched on others before assembling the entire product together. The photos below show the pockets and my company’s brand stitched onto one side of the leather. You’ll also see the handles for the bag have been installed using rivets. These handles were hand cut because they’re too long to fit in the laser cutter.


4. Stitching the bag together
During this part of the process, I typically find myself coming up with creative solutions for holding the leather pieces together to make the stitching possible. This is probably the toughest part of the process because I’ve chosen not to use glue in any of my leather products. I usually use binder clips with scrap leather to hold the pieces together. The scrap leather allows the binder clips to hold the leather pieces together without leaving marks on the surface of the product.

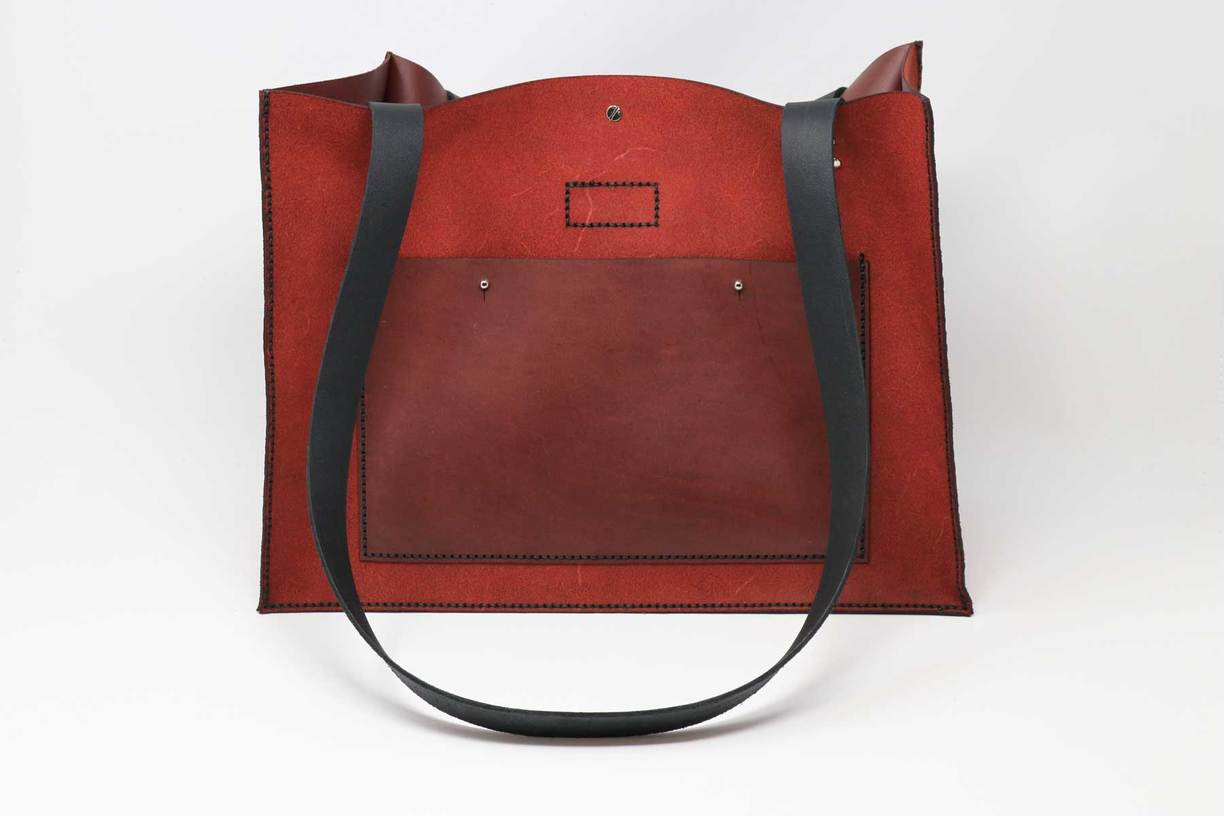
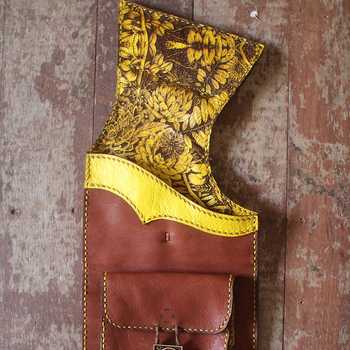
5. Leather Tote Bag Complete!
If you choose to make a leather tote bag where the stitching is concealed at the edges, I’m sure you’ll find the most exciting part to be inverting the leather bag at the end to reveal the final product! If you’re not sure what I mean, you’ll see that the leather bag in the stitching photograph above is actually stitched with the flesh side on the exterior. When the stitching is done, it’s turned inside out and the skin side comes to the exterior and hides the stitching around the edges.
To be completely honest, I was stuck deciding between hiding the stitching around the edges or leaving it exposed. I made another tote bag in the past in a similar way where the stitching was exposed around the edges and I loved the product. For this particular project, I wanted to experiment with concealing the stitching. Check out the final photograph below:


Conclusion
This leather tote bag project is my largest one made on a Glowforge and I’m excited to be able to share it with you all here in our community. There are more products that I’ve been brainstorming and I’m looking forward to creating more leather projects on my Glowforge. I hope this post inspires some of you with ideas for how you can use your Glowforge as well.
Until next time, keep creating!
Tim Ung
Explore leather projects
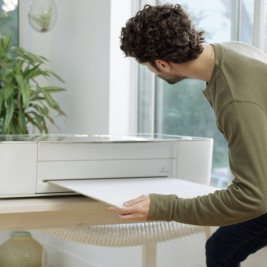
Meet Glowforge
Learn more about the iconic 3D Laser Printer
Start with an idea. Create your design. Hold something in your hand you only imagined an hour ago. Glowforge makes that possible.
From idea to design to creation. No matter what you want to make your Glowforge can help you make it happen.