Continuing the discussion from Adventures in Acrylic:
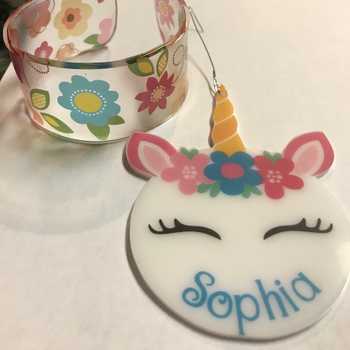
@Jules was kind enough to let me post these bowls of her design and inspiration first. I got a request for these bowls from my wonderful art and environment chair. The request was accompanied by a Wagner heat gun. And she did a fantastic job decorating the church for the season. So I obliged.
This is very simply. Put the design in the GFUI. Size it as big or small as you want. Press print. It works flawlessly in both 1/8" and 1/4" acrylic. I didn’t use the heat gun as there have been some cautions about doing a larger piece. While I had the oven heated up baking cookies with my new bunny cookie cutter, I thought it would be a good opportunity to knock these out. I did the cookies first, by the way.
Set the oven at 300 degrees. Get a sturdy sheet pan and some nice hot pads. Find a bowl that you want to use to form the acrylic with, preferably something that is thick and holds heat, like a good pyrex bowl.
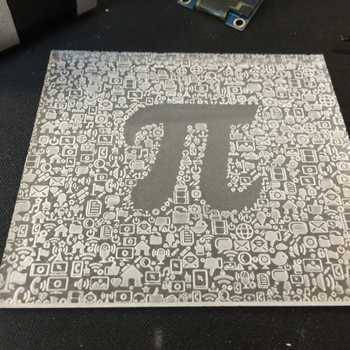
My fiirst attemp wasn’t too good. I was doing a test piece in my Chemcast and forgot to set it for 2 passes. To salvage the piece, I engraved the back a couple passes and that freed the design. Not the most efficient way but I did work ok. Except for some minor positioning issues at the edge where I missed a bit. So proof of concept. And the bowl I used just wouldn’t work. I figured I’d be better off with a mold concept, two bowls that nested to press the acrylic evenly. That was much bettter.
The nine inch Corell shallow bowls worked perfectly. The hardest thing was getting the acrylic placed evenly on the form. I put the setup on a wire cooling rack that fits in a heavy sheet pan. Then slid the whole thing into the oven at 300 degrees. I checked at five minutes, and then every minute. At seven minutes the acrylic started a slight sag and gave way when I pressed on the top bowl. Using oven mitts I pressed firmly down on the top bowl and held it in place for about thirty seconds. Then I upended the bowls, covered them with a layer of dishtowels and weighted the whole thing down with a cast iron skillet to allow for a gradual cool to anneal the acrylic. I also checked every once and a while during the initial forming to make sure it wasn’t sticking to the bowls.
So this turned out pretty good. The 1/8" is very light, but seems sturdy enough. Not anything heavy, but it would work for a candy dish. The 1/4" acrylic is strong. Doesn’t seem delicate at all, but looks that way.
I could see making some small ones of this to use with a place setting with a little paper napkin in as a personal bread basket or whatever.
