Posted by
marmak3261
Kirksville, Missouri
Joined Oct 14, '15
Posting this to document a few things regarding design, materials and workflow.
My materials picker (a parishioner who drops by the office just about every day with some materials or ideas for the Glowforge) came up with some on-sale nightlights at Menards. $10 for three, reduced to $8 and then add a 10% discount if put in the big shopping bag.

Although it is tempting to throw the reflector shield in the Glowforge, I would guess this is polycarbonate and not acrylic. Not wanting to mess up the pre-release with a fire (checkout out ATX hackerspace’s do’s and don’ts), figuring polycarbonate doesn’t perform well either, and not really going to get into the whole materials test thing, I decided the clear Proofgrade acrylic would look so much better than this matte, pebbled surface.
She actually brought it taken apart with instructions on how easy it would be to redo these. Nice.
So here was a try at using the trace function of the Glowforge to see if I could knock this out without having to design anything. Odds were stacked up against cause this is transparent. So I took a big fat marker and did the edges to make a contrast.

Here is the screen capture. I put it right over the masked Proofgrade It actually did a pretty good job, but those bottom screw holes were a little too undefined, plus I wasn’t able to define a cut line around the edge well enough to complete it around the bottom. The holes for the screw mounts are pretty precise but the irregular edge presented a challenge. Almost there!

There is some pretty good potential here.
Here is the SVG I made in Inkscape.

The original reflector is .205" thick. Proofgrade acrylic measures out at .111 without masking. So I cut an extra spacer to put in the socket and that holds everything tight.
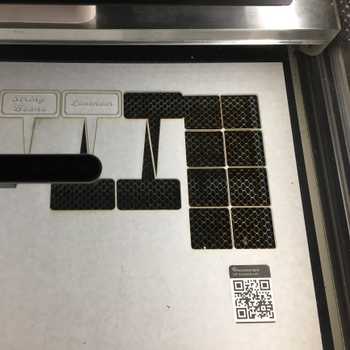
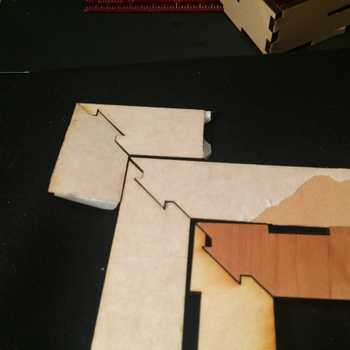
Here are some test cuts in the Air Jordans cardboard (I need to source some more of this stuff. It is perfect prototyping material).

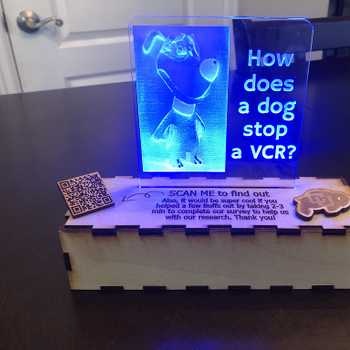
Here is the first one I printed last night. Tried to source an image that was offered gratis, so this worked out ok. I could have moved the graphic up just a little.

I did a little more work on the design tonight to add some text and try out some Laserbits Acrylic.

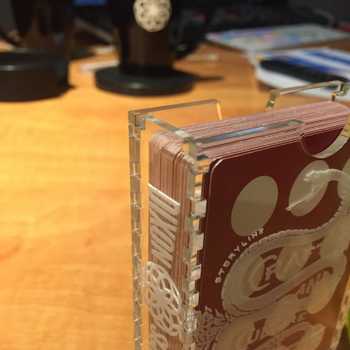
Whoops. First time I cut this acrylic and with the masking on, I didn’t realize it was opaque. This totally won’t work as an edge lit nightlight. Lesson learned.
The other lesson was how the Glowforge processes the lines in an SVG. Even though there is a black fill in the design file and this image was a vector, when I engraved the image, it engraved the lines and not the fill. Somewhere along the line I remember that this was normal, but I’d forgotten. No trouble, just export as a PNG and plop it in the user space.

The Proofgrade acylic works super. I’d like to design some more things with it, but am stacked up with wood projects!
Ready for assembly.

And plugged in:

The coolest thing would be to have a bunch of these all cut out, but with the masking still on. Kids can draw on the masking whatever they want. Scan the art and engrave it. Custom nightlights.
The placement on one object in the center under the camera is just about perfect. I had to cut the blue acrylic twice because I mis-typed the speed and it didn’t make it all the way through. I just placed the image around the outline and cut it again and it followed the outline perfectly all around the kerf.

Start with an idea. Create your design. Hold something in your hand you only imagined an hour ago. Glowforge makes that possible.

From idea to design to creation. No matter what you want to make your Glowforge can help you make it happen.