
Posted by
todd.hassell
Burr Ridge, IL
Joined Jul 7, '16
One of the things I’ve been meaning to do for quite a while, but haven’t had time because of our new puppy, is to make some storage organizers for a wide range of camera accessories (and several small cameras).
I finally took on the project, and am very happy with the end result, and in the process, developed a new (at least to me) technique that builds on the concept I came up with for my ink marker storage unit.

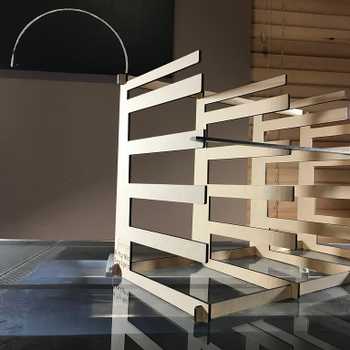
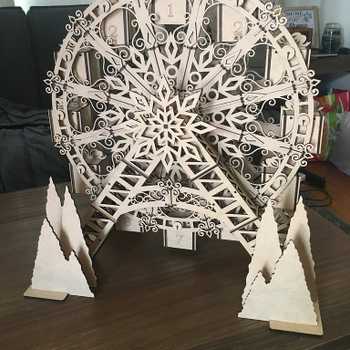
Using a multi-tabbed insert that intersects levels of draftboard at a 90 degree angle, it is very easy to create a multi-tiered storage unit, even at the size of full 12x20 sheets of draftboard.

Lesson #1: Be sure to put some of the braces / connectors at a 90 degree angle to each other. When you do that, it keeps the layers from shifting, since the opposing angle connects act as a brace.

Lesson #2: Plan to have the braces on BOTH ends of the connector hole you cut.

The challenge, however, is getting a unit with many “connectors” properly assembled, and then making sure they don’t self-disassemble, especially when putting items in and out of the storage unit.
Lesson # 3:
So…. drop in a T-shaped piece that is just exactly the width of the space between the two braces, with the top part of the “T” matching the total wide of the two outer braces and the spacer in between. This will keep the sides of each brace fully engaged in the “levels” of storage, and the top part of the T will keep the center brace from falling out when you (invariably) move the storage piece. (Yes, you guessed it, the original design didn’t have a center brace, and of course, the next design – that DID have the center brace – did not have it as a T. That took a third version. )

Lesson #4: Make sure, especially if you are using a full sheet of draftboard (or other 12x20 material), that you mark / score / etc. which direction is front and which is top, so that when you try multiple times to assemble the pieces, they all actually fit. This is critically important when you have a solid base level (which I recommend starting with because it keeps the items you are storing from falling through when you move the unit.) Yes, another thing that was NOT part of the original design.
Lesson #5: When storing items of differing sizes, eliminate some of the storage cuts from the lower tiers so that the smaller items rest at about the same height as the taller items (which have only the solid base level to stop them.)
Lesson #6: When you are going to assemble a complex storage unit like the one shown here, if there are more than two layers, don’t even try to put them together as it will stand, or even upside down. The best way to assemble one of these beasts is to put (one half of the braces - one in each hole) in the first layer laying normally, and then add the second layer. Once that is done, turn it on its side, and work each additional layer in that way. It could EASILY save you an hour of frustration and going back and forth trying to keep the pieces from falling apart, shifting, etc.
I hope you all like this, and that it inspires the community to get organized.
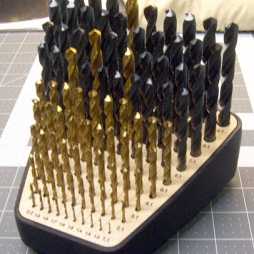
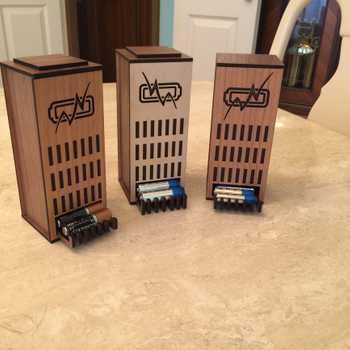
Another view of the finished project with accessories stored. The additional small project to the right, storage for the batteries and SD cards, is what I did first is what got me started on the bigger project.

Bonus Lesson (Non-Glowforge): If you are wanting to store SLRs or DSLRs, I highly recommend the 6 ft x 2 ft x 3 inch foam pieces from Home Depot – about $21 each. The easiest way to cut these to shape is, believe it or not, an electric carving knife (the kind used for turkeys, ham, roast beef, etc.) Look at your local Goodwill, Facebook Marketplace, etc. I found one for $10, and it is a key tool that has been added to my storage project repertoire.
And… simply because I can… here’s one of the latest photos of Rocky, the puppy who has been taking up all the time I used to spend here on this forum… 


Start with an idea. Create your design. Hold something in your hand you only imagined an hour ago. Glowforge makes that possible.

From idea to design to creation. No matter what you want to make your Glowforge can help you make it happen.