So first of all I have to say that I am not an autoharp player. I only started using one so I wouldn’t have to sit on the sidelines at the old-time fiddler gatherings we go to. I know nothing about chords (my usual instrument is a wind synthesizer), so I learned how to read my husband’s fingers on the guitar and press the right button at the right time.
So we bought a decent looking used instrument a few years ago and my husband completely redid the felts with a chord layout that is most compatible with the kind of music we play (this is not the normal autoharp layout). At the time I made stickers for the blank buttons on my 2D laser printer to match the chord layout. It served me pretty well for about 5 years but gradually the stickers started to slip off:
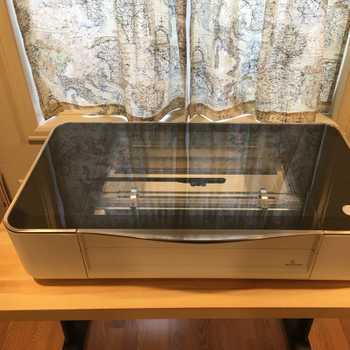
I’ve been holding off on fixing it (for about 1 1/2 years) thinking this would be a great job for the Glowforge! At first I was going to engrave the plastic buttons and infill with black something or other. But I don’t know what the buttons are made of, might be PVC, and I don’t have a spare to burn up in a test. On to Plan B: I decided to make button covers using Proofgrade maple veneer, engraving each button with the chord.
I spent a bit of time with trial and error, since I don’t think veneer is really meant to be engraved, it’s just too shallow. But I eventually got a result I liked, so I cut and engraved the 21 buttons. I did this a couple weeks ago; since then I’ve spent a lot of time experimenting with different finishes to give me something likely to stand up to hours of button presses. The winner turned out to be 3 coats of Krylon workable fixatif followed by two coats of Magic-Glos UV curing resin. The first coat has to go only around the perimeter of the button with a very fine applicator, otherwise all of the resin pulls up to the center of the button leaving the edges dry. Final result is not perfect but I think it’ll work:
So, file this one in your musical instrument repair file, @dan!
