Posted by
nunzioc
Joined Nov 23, '15
If you have young kids, you might know about how Home Depot hosts a monthly kids’ event, where they are given a free kit and make something (usually involves just a hammer, nails, glue, stickers & paint).
The latest project was an Easter Basket, made from pine & a paper posterboard type of material; some of you may have made the same with your kids…
Well, the face (and of course the ears) were made of that paperboard, and as y’all can imagine, those don’t last long with 2 rambunctious boys. One ear had snapped before we even left the store…as did another child’s next to us. So we asked for another kit and each took one replacement bunny face…
Less than a day in, and all 4 faces had broken ears, and we only had 1 replacement.
Soooo, THE FORGE TO THE RESCUE!!
Both baskets, all 4 faces with broken ears, lol.
Step 1: Trace the replacement with a sharpie (although I messed up; I had originally planned to use the same holes for the nails, then thought to use different holes 'cause I thought the original nails were too short; I should have checked first & seen that the nails were long enough to just use the same exact holes…I had to drill those holes later, but whatever)
Step 2: Cut them out with the forge on ONE QUARTER Birch Plywood! Home Depot, not Proofgrade. Ha, they made $$ on this project.
The settings for 1/8th were 99.999% strong enough for even 1/4! Just 2 tiny 1/4 inch spots were not fully cut through out of all of this:
Step 3: Check fit
A pretty perfect fit! My sharpie tracing was a bit larger, naturally, and I could have shrunk it a little to match perfectly to the replacement piece if I had thought about it earlier, but whatever; next time I will remember that.
Step 4: Remove original broken pieces (but keep for replacing back on top of the new cut outs, or your kids will scream bloody murder, because they want to keep that original Picasso artwork they worked so hard on)
Step 5: Place both the cutout and the original back on the basket.
Step 6 (Not Pictured, sorry): End cuts of soft pine, plus short nails once removed & replaced, can make for a loose fit. So, nail in 2 brads per each side (8 per basket) to keep everything nice & tight.
Step 7 (Not Pictured, sorry): Glue broken ears on the replacement cut outs
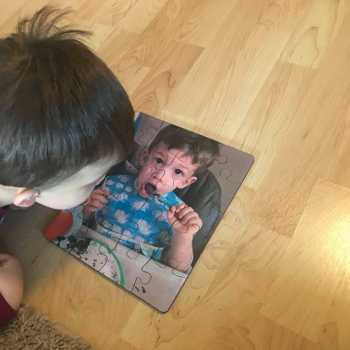
Step 8: Make your kids smile with the power of the GlowForge:

Start with an idea. Create your design. Hold something in your hand you only imagined an hour ago. Glowforge makes that possible.

From idea to design to creation. No matter what you want to make your Glowforge can help you make it happen.