Posted by
karaelena
Springfield, VA
Joined Oct 2, '15
Supplies: Proofgrade Leather 2-3oz & Random Leather - Op time: Grab bag leather 30mins - Proofgrade Leather 27 mins
I am going start off with- No research was done. Just wanted to do it and learn from it. And that I did.
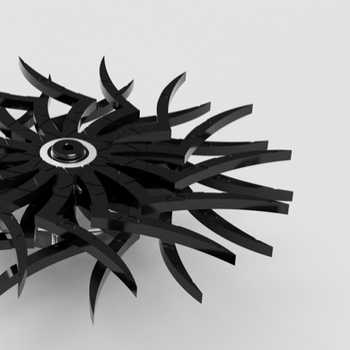
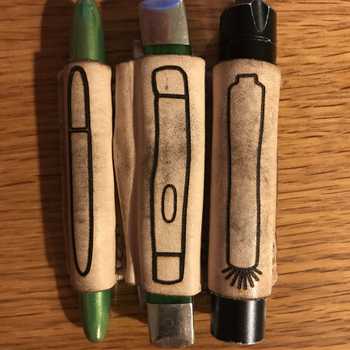
I wanted to attempt to make a wallet. But I wanted something unique to me on it. The one milestone thing for me last year was designing my building my CNC. It took a couple months and all the features sets I want to achieved were fulfilled.
I opened up F360, Then opened the model and switched over to drawing mode. Change the angle/look I wanted then exported that out as a PDF. Opened another tab in fusion and create the layout for the wallet. Then dump that out as a DXF. Switched over to AI, imported both assets and played around with it till I got the look/layout I liked. Then colored the layers so they appeared as separate ops in the GFUI. Setup the cuts and engraves- then loaded up the leather.
Sidenote- On Amazon there are a couple vendors that sells 1~10lb boxes of scrap leather for a super reasonable price. Ordered a couple boxes (Love Prime) and this is what I used for this attempt.


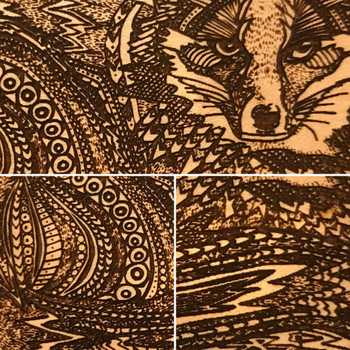
It took 33 mins the cut was done in one pass. But man oh man. Dat smell yo. It was brief until exhaust spooled up to max speed then the smell died off. But man- When that smell first hit my mind went the scene in Walking Dead with Negan and the Iron.
Anywho- It came out pretty good. But I failed to account for one thing (which you prolly already figured out by now) the thickness and pliability of the leather. [/insert sad trombone]. Too thick to bend and to even attempt to sew. I tried soaking it to see If could form it into the fold pattern I wanted. No dice. So the first attempt was a failure. No biggie, I’ll try again later.
Fast forward a couple months…
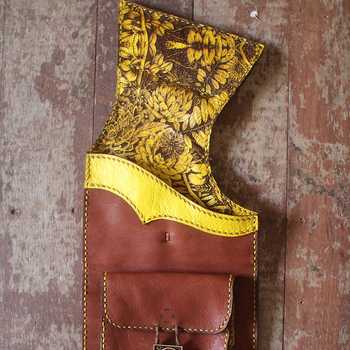
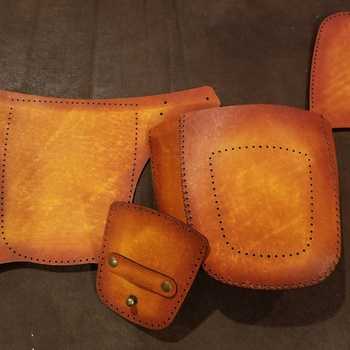
This time I was armed with proofgrade leather. Loaded up the original file and hit print.

Straight out of the machine.
With the masking (mostly) removed.
Now the next step. Stitching. (Yup. Some masking is still on there)
Soaked it and it’s now sitting in a form with a weight on top. Well that work? No idea.
I prolly missed a bunch of steps or did something wrong. But that’s okay. It was fun to make.


Start with an idea. Create your design. Hold something in your hand you only imagined an hour ago. Glowforge makes that possible.

From idea to design to creation. No matter what you want to make your Glowforge can help you make it happen.