Posted by
Xnit
Joined Oct 13, '17
My last couple of resin projects involved engraving into wood then filling with resin. These involved a couple new techniques.
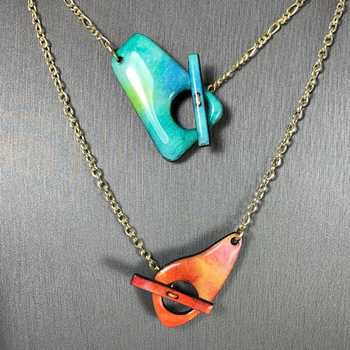
The humming bird was cut out along with the ring. Then a backer circle was glued on to the main ring. Resin was mixed with some coloring powder, poured in, and swirled with a small stick, before finally the bird was placed onto the still liquid resin.
This is my favorite method so far, since it was extremely easy and fast and had some nice results. The entire thing could be accomplished in under 20 minutes if you utilized pre-finished wood.
Scale = 11" diameter

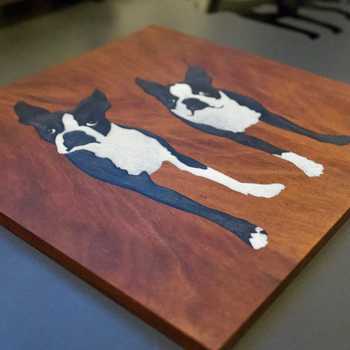
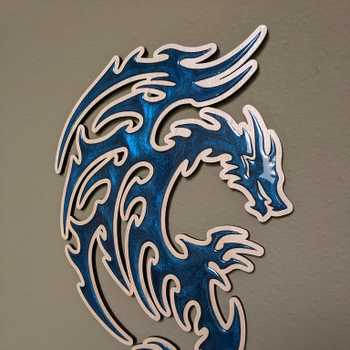
The phoenix is the same design I utilized before, however this was engraved into 3/4" walnut. Then I simply poured the resin on top to fill, also getting it all over the top. Afterwards I ran it through the table saw to trim off the top 1/16" of resin/wood. Finally did a small maple frame and varnished.
This took a lot of time and effort and the end result isn’t really any nicer than my other attempts. But I wanted to try it out so I could fail on a sacrificial project before attempting the technique on something I cared about in the future.
Scale = ~4" x 6"


Start with an idea. Create your design. Hold something in your hand you only imagined an hour ago. Glowforge makes that possible.

From idea to design to creation. No matter what you want to make your Glowforge can help you make it happen.