Posted by
cynd11
USA
Joined Nov 8, '15
Hey! It’s getting close to that time of year. Mom knows I have a Glowforge so I’m sure she is expecting great things this year. Both of us are rabid cardmakers (she’s 83 mind you, but she still has to have the latest card tool) so of course the card is my first focus.
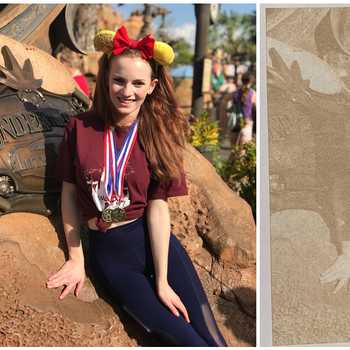
I saw a card done recently (it’s this one if you’re interested) that I wanted to reproduce, in style anyway. But not having that particular stamp set, I decided to start from scratch. First, the final result, then I’ll document the process because I think a lot of papercrafters out there might be interested. Here’s the card I made:

Now, it started with a piece of low resolution clip art I found in .png form:

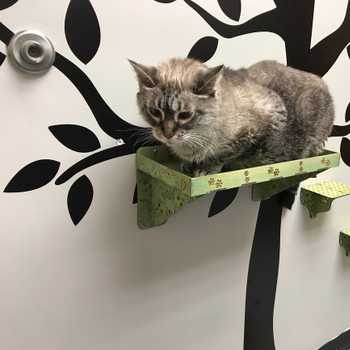
I resized it to about 8x10" and printed it, then hand traced over the top with tracing paper:
Scanned in the drawing to Illustrator and did some autotracing. I had to do quite a bit of work on the image in order to get the line thickness about right for stamp making (about 1.0-1.5 pt). I also did quite a bit of testing of engraving the stamp material to come up with optimum engraving conditions. My initial results indicated that if I went too deep with too thin a line thickness for the stamp, there would not be enough support for the imaging part of the stamp and it would result in squiggly lines when you tried to stamp it. As a result, I ended up making my stamp with thicker lines that I really cared for. If the GF had a Stamp mode where sloping support sides are automatically created, that would fix the problem. Or when 3D engraving is available. (Meantime, I discovered that making two engraving passes of shallower engraves gave me very good results, but that was after I made this stamp).
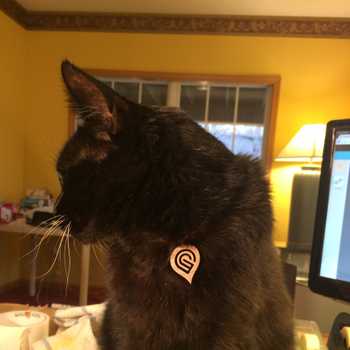
Anyway, I also created a 1mm border outline cutout, and cut that out on the laser from Bristol card stock. Here is the stamp, a stamped image from the stamp, and the border outline cutout:
Dummy me, I forgot to flip the stamp image before engraving it, so it faced the opposite direction. Still usable since there is no text.
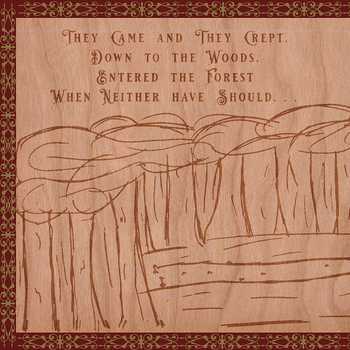
Finally, I stamped the image on the cutout with black ink, then again with embossing ink and embossed the image with clear embossing powder. Colored in with Zig Clean Color markers, added Glossy Accents, Wink of Stella, and sequins, and popped the whole thing up on foam squares with the cutout inserted into the circle. The sentiment is stamped from other stamps I already had.
I think she will like it.

Start with an idea. Create your design. Hold something in your hand you only imagined an hour ago. Glowforge makes that possible.

From idea to design to creation. No matter what you want to make your Glowforge can help you make it happen.