Posted by
hide
San Francisco
Joined Jun 8, '17
Long story short, I made a tenor size ukulele with my Glowforge. This is a prototype for a potential class I am going to do for my daughter’s school. They have no power tools, but surprise surprise they have a Glowforge! The parts, with the exception of the top layer of the fingerboard, tuners, nut, and bridge were all made of medium and thick draftboard. This is the result.

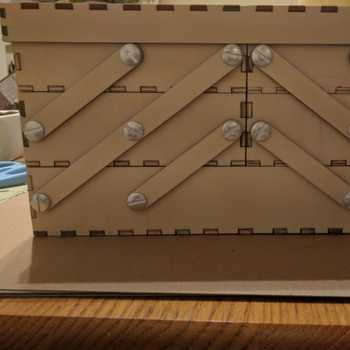
If you want to skip the TLDR version, then don’t go beyond this. I thought I would share some of the steps I took. First thing was to draw the parts in Illustrator. From the start the biggest challenge was going to be the sides, which I wanted to be done by the living hinge method but I wanted the sides, top, and bottom to finger joint together and keep that as an aesthetic. It looks a bit like the old school rope purfling on antique ukuleles. To do this I made dashed lines with the spacing I wanted, then expanded those into solid boxes, and then joined them together with the pathfinder tool. The sides are a standard living hinge pattern with alternating heights to fit the finger joint spacing I created with the dashed line. I did a quick test by making a cylinder and was satisfied I got the math right.

Then I was off cutting the parts. Took a while and made some mistakes so I had to do some parts again but that bit was fairly painless.


Getting the masking of the sides. From my test, I discovered that if you take them off from one end the other, it was a frustrating task because the masking will keep tearing. So I decided to go from “top to bottom,” that is to remove along the “grain” of the kerfs. You start by doing a little bit at the top all the way across and then go back and do a little bit more. This way, believe it or not you get it off all in one piece!


Here are all the parts laid out flat. Had to redo some parts due to registration error in the original .svg (my fault) but all in all this is it. You can see that instead of the traditional label, I etched mine in to the backboard. Instead of spruce bracing I created a “brace layer” - probably not as strong and certainly not as light but heck, this is what prototypes are for.

This is the neck assembled with some shaping already begun. You can see I used the fret markers as a tenon to register the fingerboard onto the neck. Next time I will make a mortise here and use pegs to hold both fingerboard and neck together just to make sanding the neck top easier.


No photo but originally the fingerboard was all draftboard but I was afraid that the mdf wouldn’t hold the fretwire securely enough so I added a layer of maple on a thinner piece of draftboard.
A close up of the “label.” As many of you know, ukulele means “jumping flea.” Since this “flea” was being made with the help of digital technology, I used a photo of a flea taken by an electron microscope.

Here are the parts again with some assembly in progress.

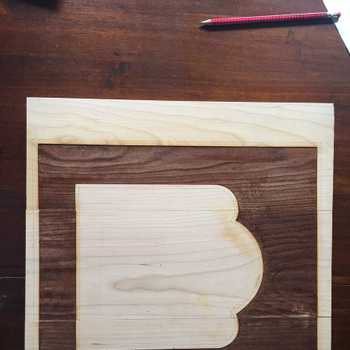
The sides fit the top and bottom perfectly well but there was some spring left in the waist. So I quickly made some cauls (cut exactly to the shape of the waist thanks to Glowforge) and used a clamp to hold the parts until the glue dried.

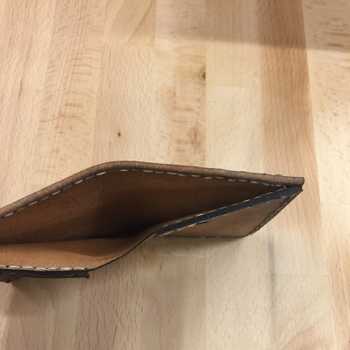
The sides and back assembled.

Next I glued on the top. I didn’t have to use spool vises like this but I actually make traditional ukuleles as well, and I had these on hand. If the school course works out, I’ll probably use the giant rubber band method. This way the school won’t have to invest in any new tools.

I kept the masking on in most areas until the very end. This way I avoided getting the draftboard dirty or pocked with glue marks during construction.

And here it is again in the end. To protect the surface I did three coats of wax free shellac and sanded with 0000 steel wool in between. I used Zinsser’s SealCoat, but any brand would do I suppose.
How does it sound? Surprisingly good. I thought the draftboard was going to be too dense to produce a nice sound. It sounds mellow. It has no bright punch but it has a jazzy feel to it that reminds me of my old Roland Jazz Chorus amp. I’m not a great player so I’ll spare you my rendition of “Somewhere Over the Rainbow.”
Well, like I said this is a prototype and I’m already working on another where I am experimenting with different materials mixed with draftboard. The big difference will be to use spruce as the soundboard to get a brighter tone. That said, I do like the draftboard soundboard tone so depending on how the music teacher at my daughter’s school reacts, we may just go with draftboard. Cheers, and keep forging!


Start with an idea. Create your design. Hold something in your hand you only imagined an hour ago. Glowforge makes that possible.

From idea to design to creation. No matter what you want to make your Glowforge can help you make it happen.