Posted by
scottmillersb
Joined Sep 30, '15
Projects like this are why I bought and really love my Glowforge. I got married on the 12th and we had made all of our decorations. Supplies were purchased on Amazon and via the GF store.
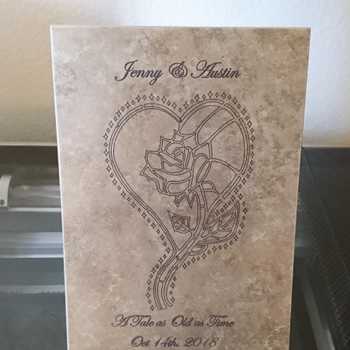
Wedding invitations:
My brother Victor (www.vabart.com) designed our wedding invitations. Each invitation took 25-30 minutes to cut/engrave on 1/8th maple plywood or 1/8th draftboard.
We didn’t end up painting the invitations we sent out, the wood looked great without it.
We had some extra’s and brought them to the wedding. Ended up painting these ones:
What I learned from this:
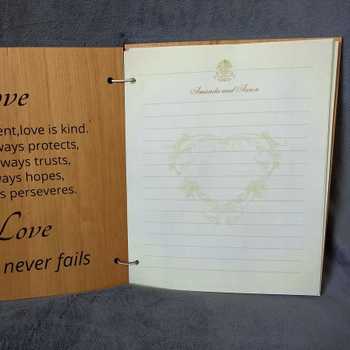
Wedding guest book:
We didn’t want a traditional guest book, so after some googling, we found a drop in guestbook frame: I really didn’t want to pay $200 so we did a bit of forging. I haven’t completed the frame yet, but the stars/hearts were a big hit!
What I learned from this:
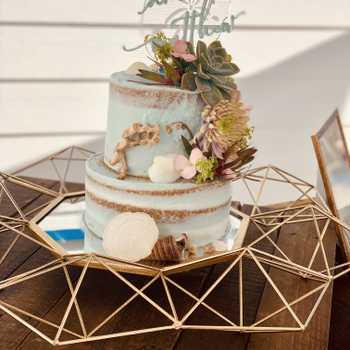
Succulent Planter Box:
I had initially hoped to do acrylic planters for the succulents, but I ran out of time due to a breakdown of my Glowforge and its replacement being damaged in shipping. Also, I lost a week due to noise complaints from the HOA. Here is what the planter would have looked like:
Since I had already cut the front and sides of the box, I ended up making these into coasters and giving them away to our wedding guests.
What I learned from this:
The Pivot to Table Signs:
When it became apparent that I wasn’t going to get the boxes done in time, I ended up pivoting to creating table signs. I had already cut the personalized front of the acrylic planter box, so I created a 7.5x4x1 box using http://www.makercase.com/. I then took the box into illustrator and added the slot for the acrylic and a spot for some inserts for it to rest on. Lighting the signs was easy, I cut LED light strips down to 6 inches and soldered clips for a 9-volt battery to the strips. During testing, the battery lasted for more than 4 days, with approx. 50% reduction in brightness by end of day 2. The lights were rated for 12v and no resistor was needed.

What I learned from this project:
During the reception, we invited our guests to take the decorations home with them. Nothing was left and the demand was so high that people were actually discussing who could take what. It was really great to see everyone enjoy our creations and it made our wedding special.


Start with an idea. Create your design. Hold something in your hand you only imagined an hour ago. Glowforge makes that possible.

From idea to design to creation. No matter what you want to make your Glowforge can help you make it happen.