Posted by
geek2nurse
Birch, Texas
Joined Feb 1, '18
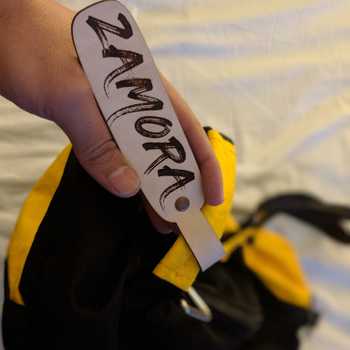
I played with leather today. People at work have been asking for bracelets with words on them.
They didn’t really say WHAT words, so I just came up with some.
Then, of course, I had to figure out how to finish them. (Before you read any farther you should know that I know absolutely nothing about working with leather, so I’m pretty much making it up as I go along.)
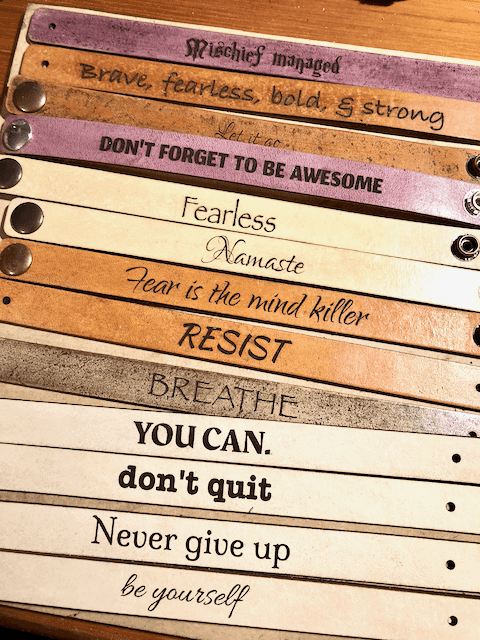
There’s a recipe using rusted steel wool and vinegar that supposedly makes a really nice black on leather, but since it actually involves planning ahead, and I’m kind of lousy at that, I didn’t make any black ones. Instead I dug out some shoe polish (the kind in the little cans, which I had bought for this purpose – so I guess I did kind of plan ahead, a little bit!):

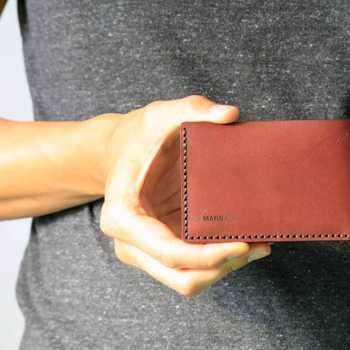
Three of those are just plain leather with shoe polish. The very top is tan, third down is brown, and the bottom is Cordovan. I wanted to try to get a darker brown, so on the second one down I tried using a light coat of brown acrylic paint. It came out kind of a dull, lifeless brown, though, and I didn’t really like it, so I rubbed off what I could with a damp rag, and then polished over it with the brown shoe polish. I kinda thought I’d screwed that one up, but strangely, all 3 of the 3 people I showed the 4 colors to for their opinions picked that one as their favorite. Go figure.
So I tried the same thing again, but with the brown paint and tan shoe polish, and I think that one actually turned out to be MY favorite. It’s the one that says “breathe” in this photo:
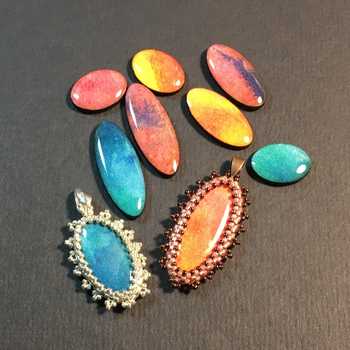
Then I got tired of the shoe polish colors and went back to my acrylics.


_Hmmm…it’s kinda like refrigerator poetry! _
The yellow and aqua are acrylic paint topped with a coat of the light tan polish. The blues were more of the “paint on, wipe off” topped with shoe polish. On the “be yourself” one I used the Cordovan, and on the other one I used tan. The difference is pretty subtle.
Stuff I learned:


Start with an idea. Create your design. Hold something in your hand you only imagined an hour ago. Glowforge makes that possible.

From idea to design to creation. No matter what you want to make your Glowforge can help you make it happen.