
Posted by
kelley1
Washington State
Joined Aug 1, '20
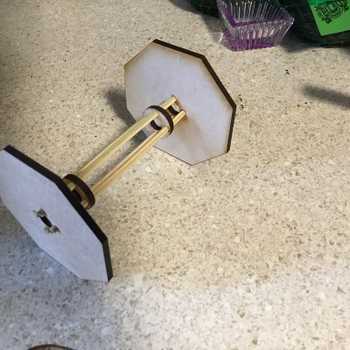
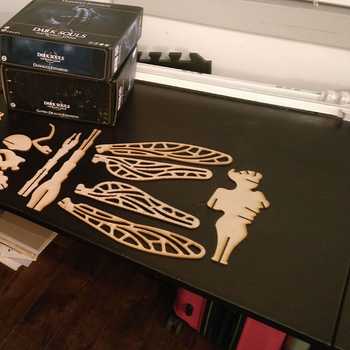
Here is a mockup of how I’m going to build a replacement spinning wheel. (I did not include the central axis hole because I’m going to have to order replacement bearings. Until I know their dimensions, I’m not worrying about it. [I’ve already figured out I can’t salvage the original bearings w/out destroying the wheel.])
Here is what the original wheel looks like; it’s about 1.5” thick and 12.5” in diameter (back face).


I will use combinations of 1/8” MDF and 1/16” birch solid wood (or clear acrylic) to build up the sections of the wheel; each step-down is a “whorl”. Like gears on a bike, they change the speed at which you put twist into your yarn.
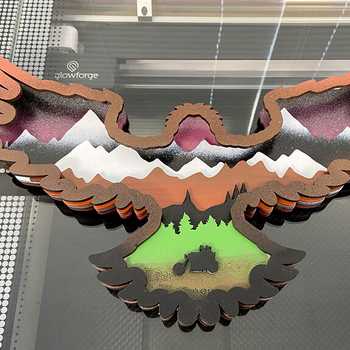
Since there are 5 whorls, the 3rd whorl’s interior design will be the base layer, and the rest of the design will stack toward the outside. The backside and frontside of the wheel will look alike, but will have different diameters. Even so, they will layer perfectly. (In this half-scale design, it only shows 1/3 of the wheel. In reality, that’s how I will have to build it, as my working surface in the laser is only 10.7” x 19.5”.


[There was a sizing error when moving the black layer, so don’t let that distract you.]) [[It’s a tree.]]
Since removing the wheel is a trivial activity (for me), I may make a 2nd wheel that’s lit when I spin, and has a built-in tachometer so I can keep track of my RPM. Correct speed & tension make a consistent yarn.

Start with an idea. Create your design. Hold something in your hand you only imagined an hour ago. Glowforge makes that possible.

From idea to design to creation. No matter what you want to make your Glowforge can help you make it happen.