One of my colleagues organized a little bike competition to collect funds to benefits a health organization. I proposed to design and produce souvenir awards for contestants. I needed to produced 8 of them so I got some acrylic (Black, Transparent and Green) and also ordered some anodized aluminum to display date, category, names.
I wanted to experiment with the following:
- Engraving (done in the back of the transparent acrylic and simply turned over).
- Parts fittings (yes, this required using kerf and making sure things fit but still hold)
- Some assembling and gluing acrylic together. Successful but not easy, especially with transparent acrylic so as to avoid marks.
- Precision cutting acrylics at various depth (finding right speed and power)
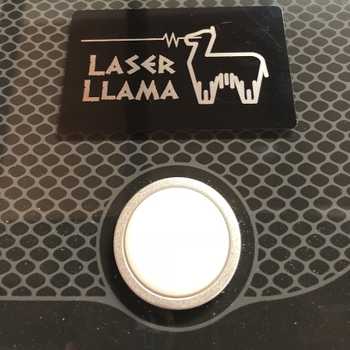
- Engraving Anodized Aluminium
For the design, I used Illustrator to recreate the shield for which I used a font that is the one traditionally used for road signs. I also found an SVG for the little bicycle that I had to “fatten” up a bit so that the engraving would work great.
Challenges I went through:
- I did not have too much of the dark acrylic so I had really to fit things on the glowforge and the camera was a bit off from the reality. I think the positioning of parts when looking at the picture on screen could be better. Next time, I tried to leave more margins for error.
- Gluing the acrylic together was a bit difficult). I think that I would have rather use a cut (play with kerf) that would have been tighter so as to use only the slightest glue possible,
- I did not have any appropriate tool to cut the anodized aluminum. Although results were OK using an x-acto knife with several passes and then bending the aluminum till it broke, I wish I would find a better way.
The engraving of the transparent acrylic took the most time at 1hour and 40 min. Cutting was easy and super precise. Once I found the right parameters for the Aluminum, I achieved the detailed effect I really wanted.
Let me know if you have questions or better: Feedback!
Size 2.5 x 3 in


