I knew that I wanted this to be my first big project. There’s a game called Paiko that has a black-and-white print-and-play. Well, I wanted to print that print-and-play file like no one ever has before 
Many thanks to my wife for working reallllly hard on actually working on making the files work on the Glowforge after being converted from the PDF. It took a lot of work. And I learned lots of Inkscape along the way, too!
The SVG files are available here.
Here’s a picture of the end result (board close-ups later):
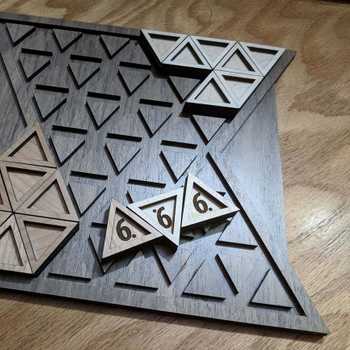
I printed the tiles first. The dark tiles are walnut hardwood - I printed the full set of tiles without doing any tests on the walnut first. Fire Lord Glozai rocked it with the default Proofgrade settings and I was blown away when I peeled the masking off the first tile. The light tiles are maple hardwood. For the light tiles, I tweaked the settings to get a shallower/lighter engrave. Without too much testing, that worked out alright. Each set of tiles took a little over an hour to print.
Here’s a picture of the tiles with something familiar for scale:
The board is thick cherry plywood to get a nice contrast between each player’s tiles. Each quadrant is a separate piece, with magnets embedded in the sides to allow the board to click together.
The quadrants with the detailed designs that are made up of practically millions of tiny dots (called “Homegrounds” in the game) took like 6 hours each to print. It took a lot of test pieces to get the engrave settings for the tiny dots just right. The Glowforge couldn’t handle printing all the dots at once, so I broke the designs up into several chunks and ran several prints to get it all done. I was printing the cherry blossoms Homeground from around 9pm to 4am (actually, I slept from 2-5:30 that night - but it would have taken till 4 if I went without sleep).
Each of the plain quadrants (called middle-grounds) took an hour to print.


I love the artwork in everything about this version of the game. So of course, along the way I had to try out some maple plywood and make some “Paikoasters”:

For the board to stick together while playing, I embedded magnets into the sides of each board piece. I got some tiny circular magnets (1/8" diameter and only 1/16" thick, and they even came with a matching drill bit) and drilled just deep enough for the magnets to fit in the board. Using gorilla glue, hopefully they’ll be stuck in there pretty well. Here’s a picture of an edge of one of the board pieces - each inside edge of the board pieces looks like this:
